To start using Business Analytics, enable the service for one or multiple Amazon accounts by following the steps of the Business Analytics setup wizard described below.
Step 1: Launch the setup wizard
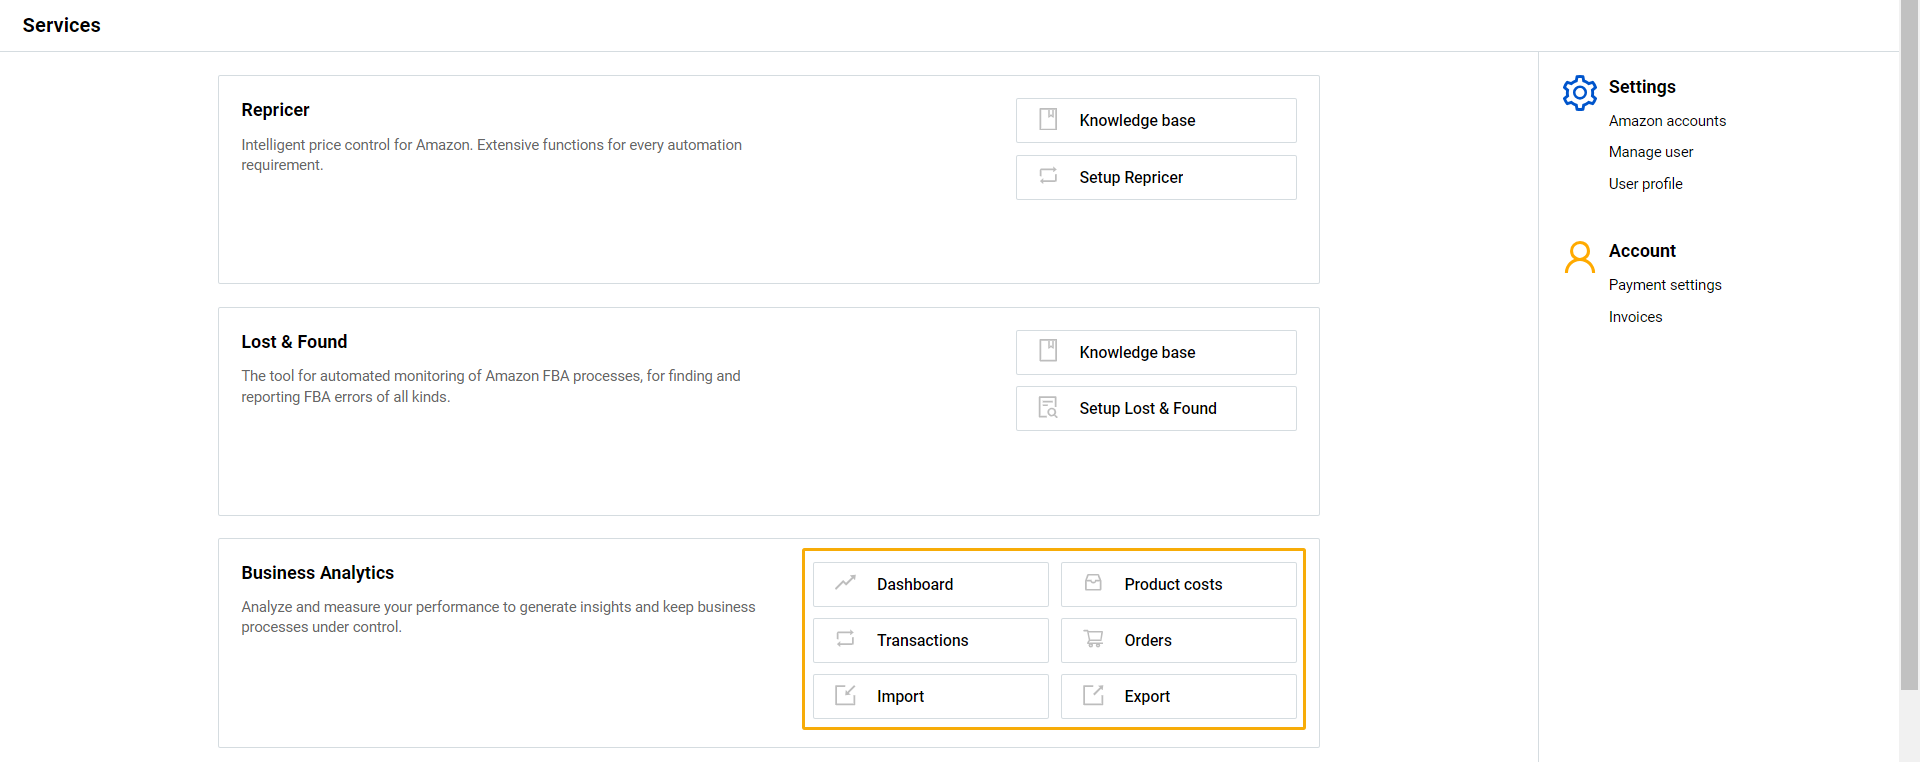
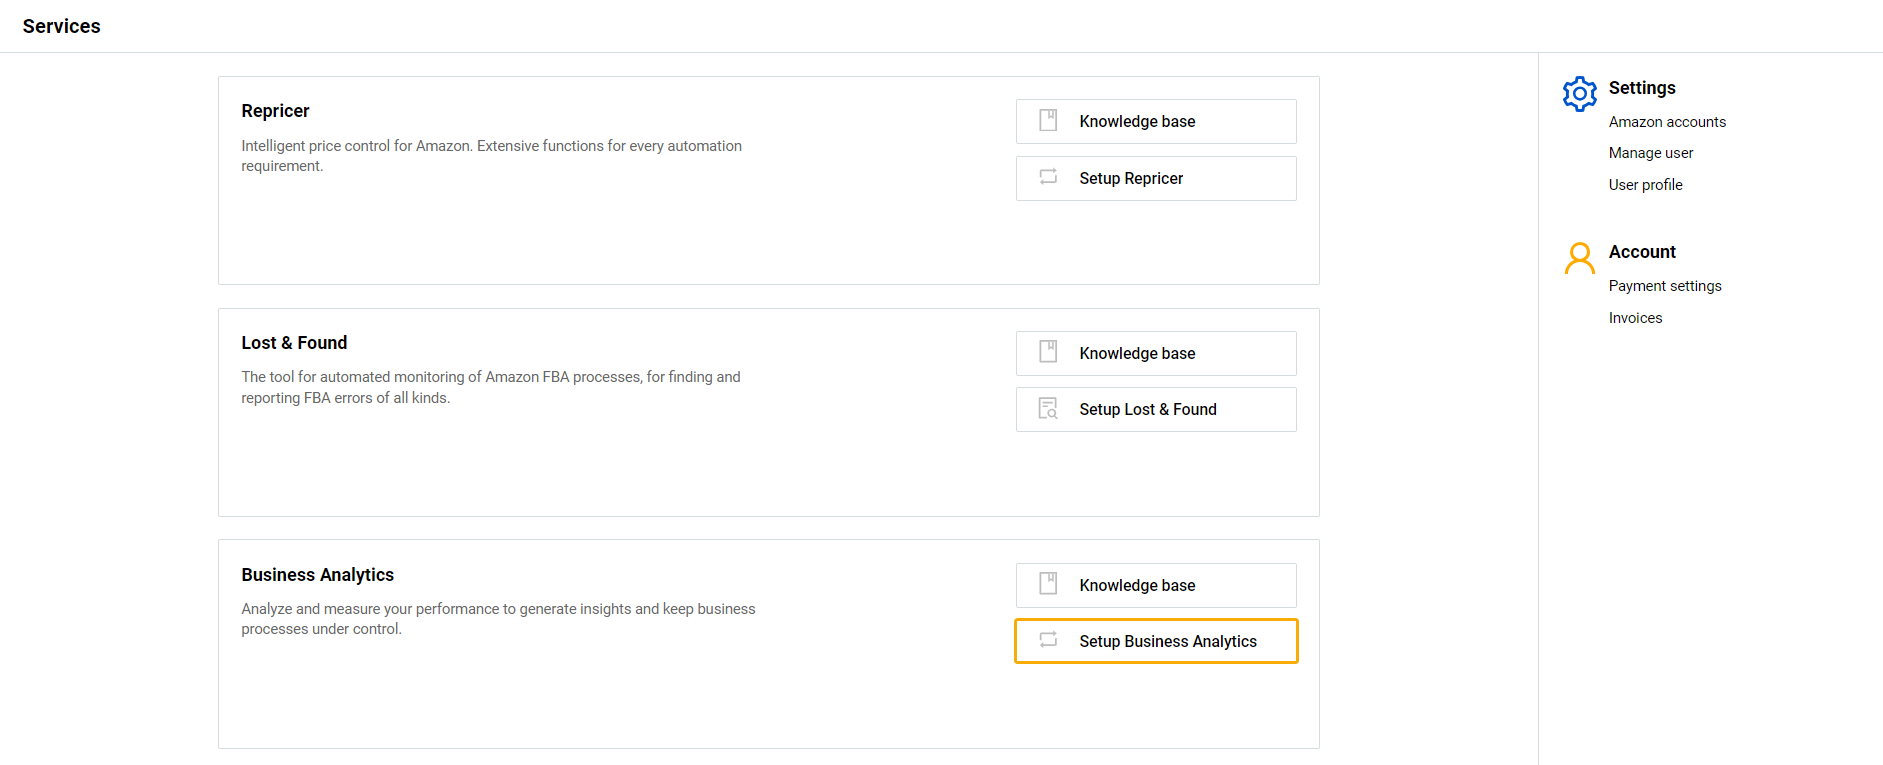
- Go to the SELLERLOGIC Homepage.
- Navigate to the Business Analytics panel and click “Setup Business Analytics” to launch the setup wizard.
Alternatively, you can set up Business Analytics by clicking the “Add/restore account” button on the “Amazon seller account management” page. For more information, see Business Analytics | Amazon seller account management.
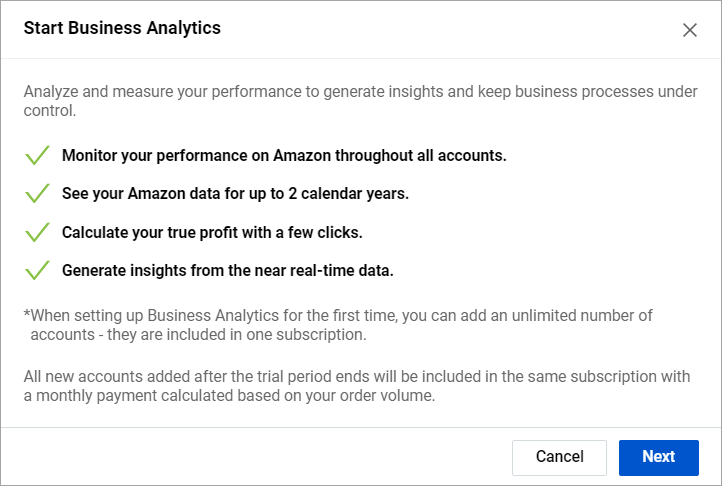
Step 2: Review service information
If not done before, you will be prompted to review the Business Analytics service information. Click “Next” to proceed.
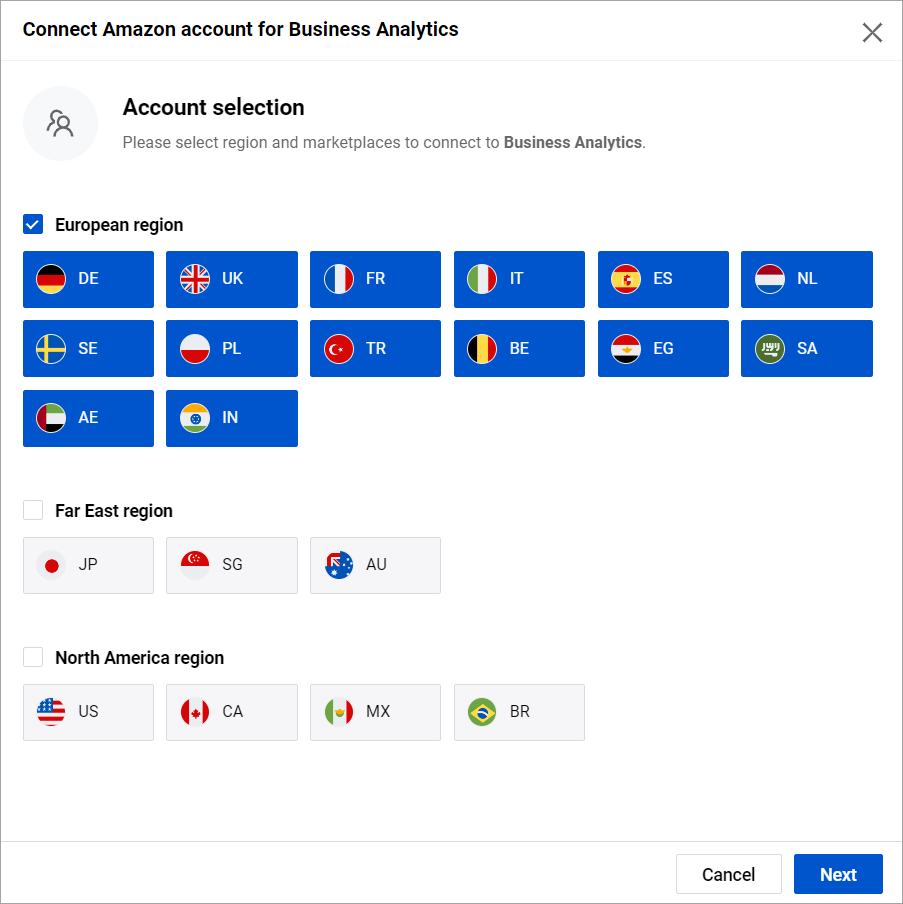
Step 3: Select the marketplaces
Follow these instructions to select the marketplaces:
- Select a single region to enable all its marketplaces for Business Analytics. Please note that you can choose one region only.
- Click “Next”.
- Next, you will be prompted to select the home marketplace to match your Amazon account home marketplace. Info: This marketplace and its currency will be used as the default for this account when using Business Analytics.
- Click “Next” to continue.
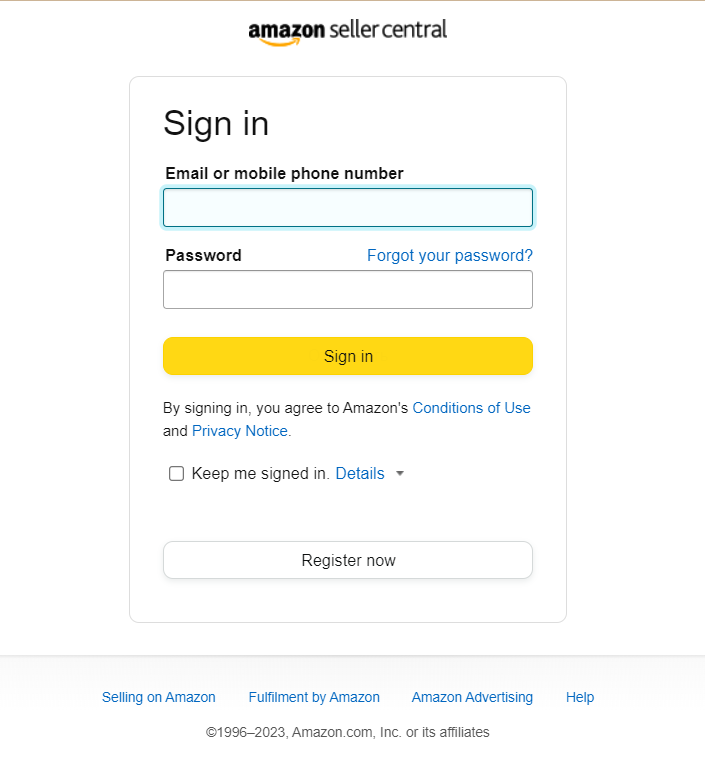
Step 4: Sign in to your Amazon account
If your Amazon API token is not provided or expired, you will be prompted to sign in to Amazon Seller Central for the token provision.
- Provide the required information and sign in on the Amazon Seller Central authorization page.
- Follow any on-screen instructions provided, to access the Amazon API token and return to the Business Analytics setup wizard.
If an error message appears during the account connection process, follow the instructions in the message or click “Back” to return to the previous setup wizard step.
Step 5: Sign the DPA contract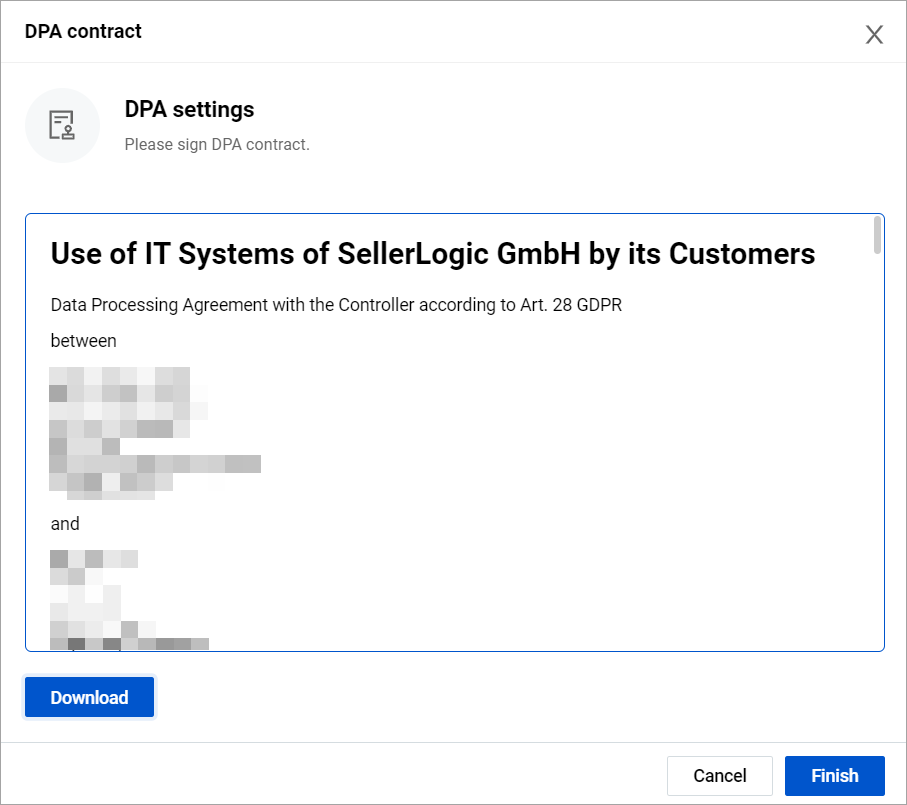
If not done before, you will be prompted to sign the SELLERLOGIC DPA contract.
- Read the terms and conditions of the DPA contract and click “Accept”.
- After accepting the contract, the “Download” button appears. Click on it to download the contract to your PC. Info: The SELLERLOGIC DPA contract can be downloaded at any time on the “Privacy” page. For more information, see SELLERLOGIC | Privacy.
- Click “Finish” to proceed.
Step 6: Summary
The “Summary for Business Analytics” modal form confirms that your Amazon account has been successfully connected and enabled. It also provides information about all your Amazon accounts with the Business Analytics service enabled.
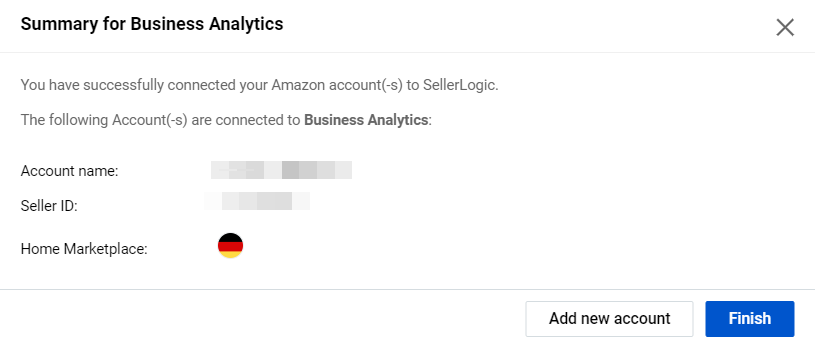
Info: The “14 days” trial subscription is activated by default when enabling Business Analytics for the first time.
To proceed with the Business Analytics setup wizard, you may select:
- “Finish” to finalize the setup process and start using Business Analytics;
- “Add new account” to connect a new Amazon account to Business Analytics and go through the wizard steps again.
Step 7: Start using Business Analytics
If the setup process has been successful, you will be redirected to the SELLERLOGIC Homepage to start using Business Analytics.